1) Research
Research is a key step in the mural cleaning and restoration process, as it provides vital insight into the history of the mural, including when it was painted and who painted it. This information can aide in the discovery of the original paint types and method. When cleaning a mural, it is important to be aware of the original chemicals and materials present so as to not harm them when cleaning. By knowing this information, an informed decision can be made when choosing the cleaning materials and methods.
2) Conditions assessment
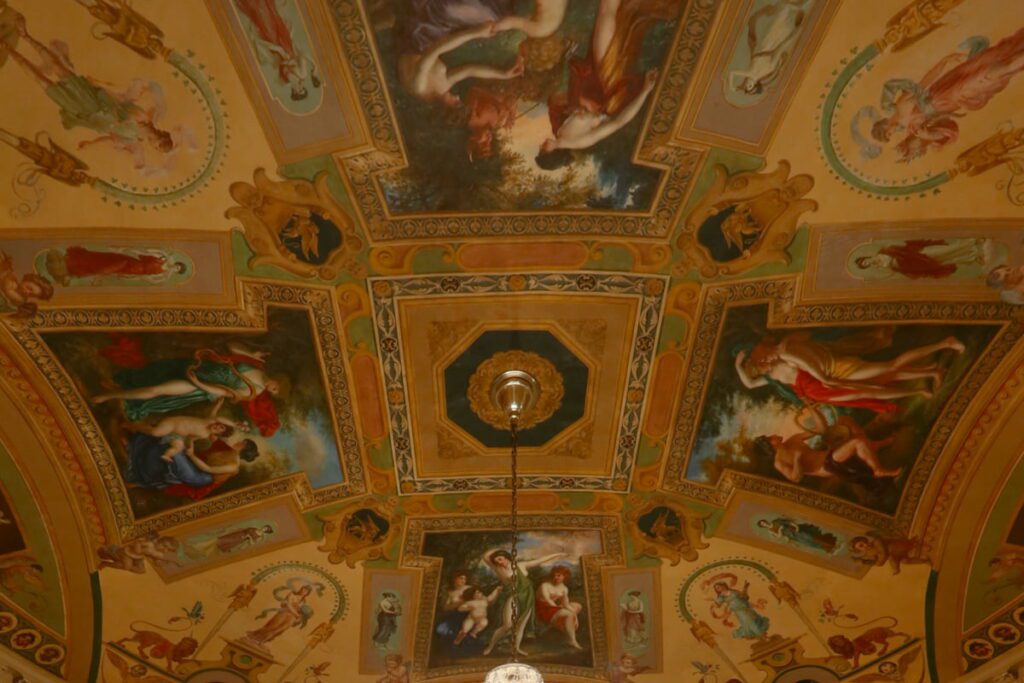
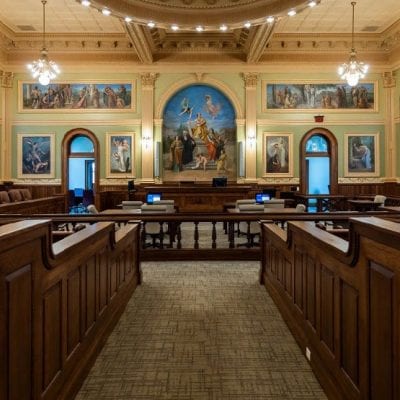
It is necessary to begin with a conditions assessment to determine the existing condition and needs of the mural. During this assessment the artwork is mapped, noting all areas of failure, including canvas tears or delamination, flaking paint, efflorescence, water damage, craquelure, or staining. Thorough documentation of findings is done as well to ensure that all conditions and issues are accounted for. Documentation including photographs are a vital part of the process if any cleaning and/or restoration is to be performed. When Canning restored the Luzerne County Courthouse in Wilkes-Barre, Pennsylvania, 125 murals were in need of conservation cleaning and repair. Meticulous documentation of each mural allowed the rest of the project to move smoothly, and avoided any mistakes that could have been made during the restoration process.
3) Solvent tests
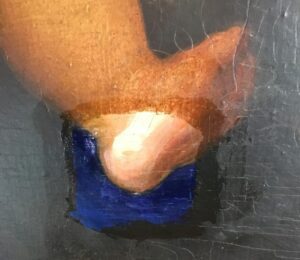
Solvent tests are usually done concurrently with the conditions assessment. The conservator will test a variety of possible solvents to determine the appropriate cleaning medium and method for the mural. These tests will also determine whether an incompatible finish exists, and how it can be properly removed. Different types of finishes will react differently to solvents, and therefore this step is crucial to ensure that the original paint will not be harmed during the cleaning process. Occasionally, ultraviolet light may be used to discover the types of incompatible finishes present on an artwork, as different coatings and materials will have distinctive reactions to the light.
Solvent test patches at the Fulton County Courthouse (left), and the Old Steinway Building (right).
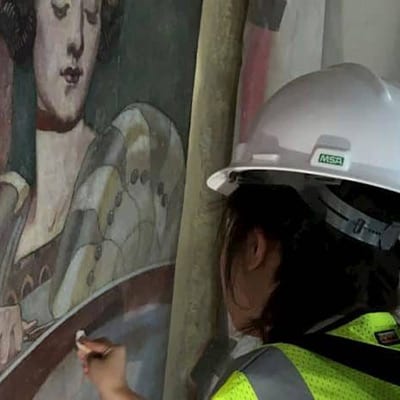
4) Varnish Removal
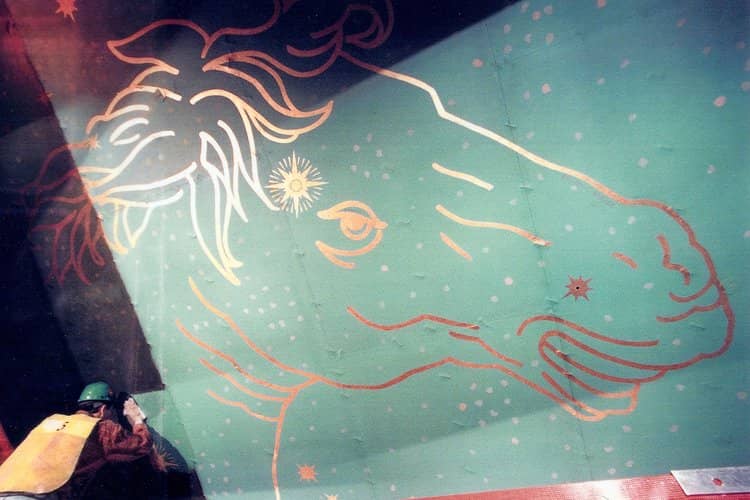
Varnish removal is the main and final step in the process of cleaning historic murals. Often times multiple layers of varnish that have been applied through the years will need to be removed. This step is done with the solution chosen based on the findings of the solvent tests. The solvent is mixed and applied to the mural using soft, gentle materials, such as a sponge, pad, or brush. The conservator will work in small sections and take care to not disturb the underlying layers of original paint during the varnish removal step. Not only will the varnish removal process take away the incompatible varnish layer(s), it will also remove any surface grime such as dust, dirt, or soot from the surface of the painting. This soiling that accumulates on the surface of murals rests on the varnish layer, allowing it to be cleaned as the varnish is stripped away. Any other incompatible modern materials and unoriginal overpaint present on the painting will be removed in this step as well, revealing the original work in its purest form. This step prepares the mural for further conservation steps, such as restoration, inpainting, and the application of reversible protective coatings.

