Work specifications are intricate, detailed documents that express in clearly written words the scope, treatment method, materials, and any applicable concerns within a given plaster repair project. Most specifications follow a specific format, which is easy to follow if you know how to read it. Below is an example of what this document might look like for a plaster repair project. We have broken down the sections and added explanations to help you better understand some of the technical language.
Introduction:
Within the introductory remakes, reference will be made to the type of plaster being used, the area it is being used, the desired finished effect, and a general summation of steps involved in achieving this finish including any preparatory work that is to be done prior to, or as part of, the general plaster repair. Not all plaster repair/conservation experts have the desire or means to fix underlying structural issues that need to be addressed in order to prolong the life of the restored surface. Similarly, if modernization campaigns are occurring as part of a larger restoration plan, they may need to be completed prior to the plasterwork commencing. Any trademarked products or techniques will be referenced here and defined within the appropriate section and usually in an appendix located at the end of the report.
Medium:
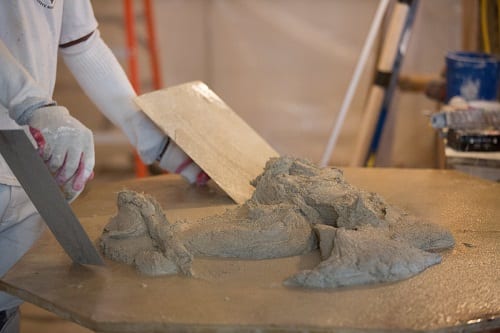
As highlighted in previous blog posts, there are several main types of plaster and within those larger categories there are many variations in substrates, ratios, and application thicknesses. In this portion of the specification the type of plaster, composition, raw materials, and consistency will be carefully spelled out. Creating the right mixture and composition is important and will determine that viability and longevity of the finished plaster surface.
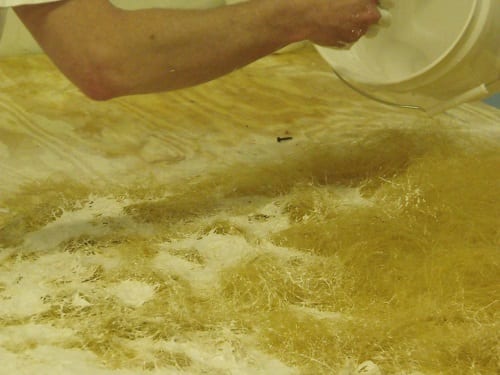
Plaster Mixture
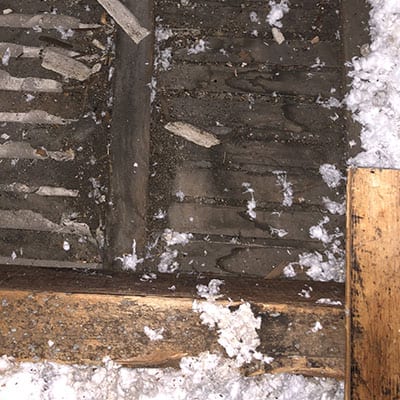
Preparation:
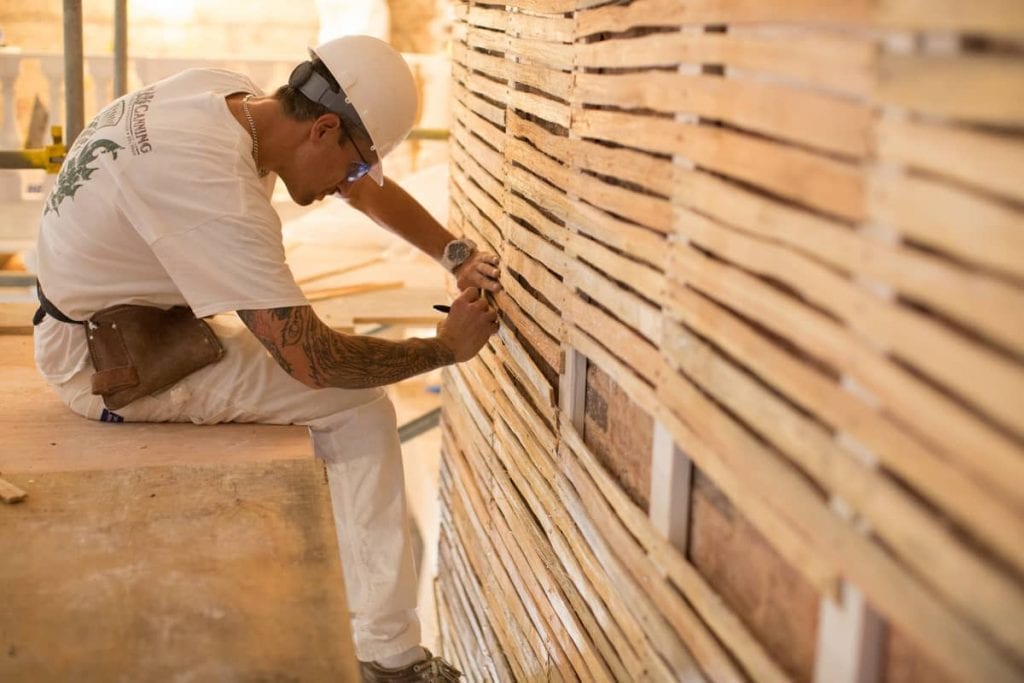
This section goes beyond the general cleaning and sanding we might associate with at-home projects. Bonding compounds, lath reconstruction, structural repairs or alterations, and any mechanical changes will be noted in great detail here. All steps associated with preparation will be divided into individual “projects” and their steps innumerate.
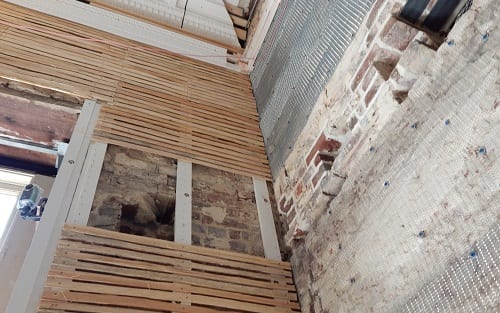
Lath System being put in place for Plaster
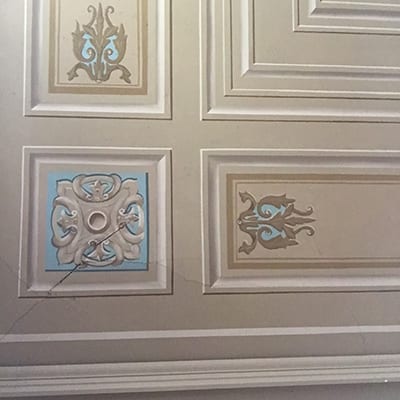
Finishing Technique:
The desired plaster surface is all the naked eye will be able to see when the project is complete, so it is important the finished product looks great and as it should—beautifully repaired lath will mean very little to the average visual consume, as it is both out of sight and therefore, out of mind. Things like plumb finish, decorative application, faux bois artistry would all be noted here. Depending on who is writing the report, how to achieve the desired finished effect might be listed here or in a separate section towards the end of the specification.
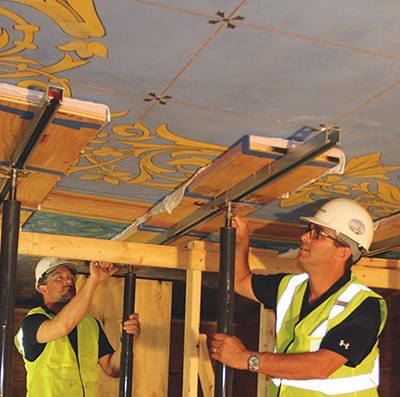
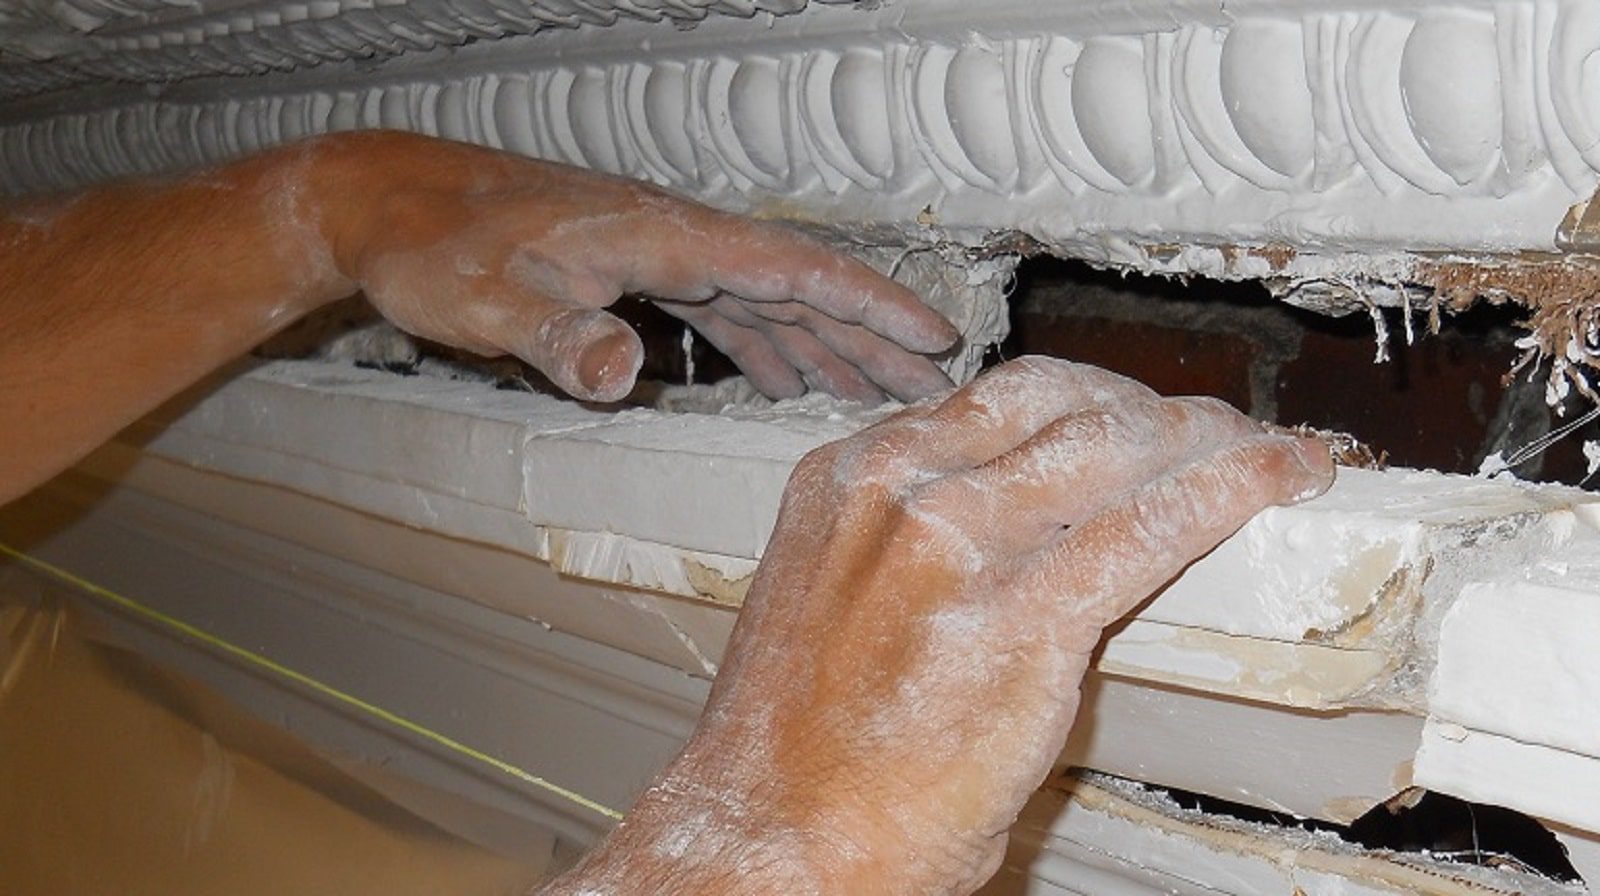
Application Process:
Once the proper plaster medium has been mixed and matched to any remaining plaster, the time-consuming process of plaster application can begin. Each step down to the smallest detail including application thickness, trowel size and material, on-the-spot compensation for foreseen/unforeseen problems, and application technique will be noted in full here. This is usually the longest section.
Preparing for Application of Plaster
Curing:
It is extremely important to wait, be patient, and let the plaster sit to ensure it can dry properly and fully. Applying more wet plaster to plaster that has not fully cured will prevent the under-layers from breathing properly, resulting in immediate cracks, alligatoring, and even bubbling. Once this damage is done, it is almost impossible to fix and full removal is usually the only option.
Finishing Steps:
As mentioned here, steps need to finish the surface the desired finish would be listed here, including, most commonly, how to best achieve a perfectly smooth, plumb surface.

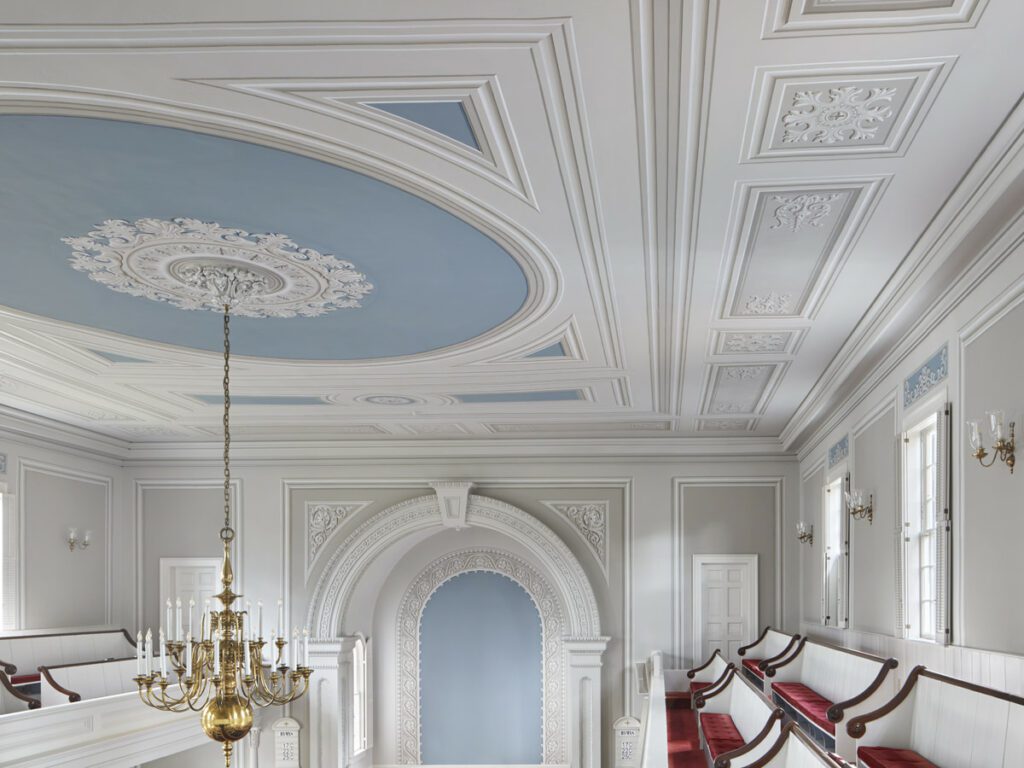
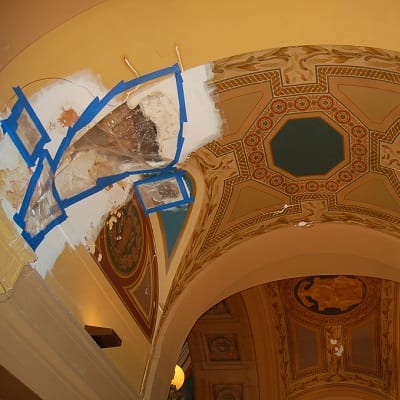
Finished Plaster Restoration at the Maryland State House -Old Senate Chambers
We hope that this will better help you digest some of what you might see when writing your own specification or interpreting one that has been provided to you by a restoration expert. If multiple areas are being repaired/restored simultaneously, expect to receive a summary specific to each area, as techniques may differ with different repair needs. Review carefully the materials and techniques used and make sure that you are comfortable with the work that is being done, as restoration can be, at times, destructive. With “first do no harm” as a motto to go by, the end result should be a beautifully restored surface, in keeping with the original intentions of the craftsmen.