Sourced from around the world, wood has been used as a building material from the earliest periods of architecture. The appearance of wood is unique to its location, and its flexible and strong nature makes it useful for many building projects. Whether it be a domestic, religious, or civic design, wood can be incorporated into most modes of construction. Unfortunately, due to its organic composition, wood is susceptible to decay and deterioration. This is especially the case for historic wood. The older the material is, the longer it is exposed to corrosive elements, and therefore the more susceptible it is to decay. Restoration work is therefore necessary to protect old wood for the preservation of historic architecture. The steps in a wood restoration are numerous and detailed. Important factors such as the wood’s composition, its original finish, and its current presentation will influence the methodology of the conservator. Whether you are a building owner trying to learn more about wood preservation or a contractor looking for advice on your project, this guide will walk you through the steps of historic wood restoration so you know what to expect and how to prepare.
What is Woodwork Restoration?
The goal of a restoration is to renew the original appearance of a building fabric using a blend of traditional and innovative tools and methods. A restoration project should never change the design or features of the architecture unless it is specifically asked for by the client. The wood restoration process entails the refinishing of a wood surface. This includes the stripping of the old finish followed by sanding, priming, and reapplication of a new finish. Each of these steps have subsets which are vital to the proper implementation of a restoration project. Below is a step-by-step, detailed chronological guide through a wood restoration process.
Step 1: Material Analysis
Before a restoration team can implement any physical changes to the wood, there needs to be an in-depth material investigation to understand its type and condition.
Type of Wood
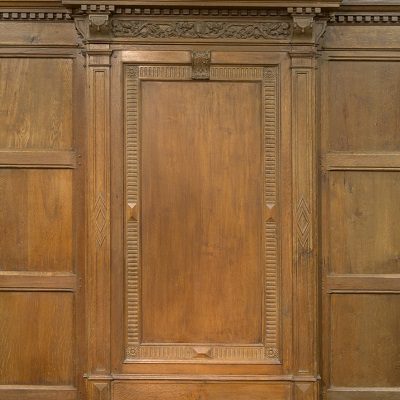
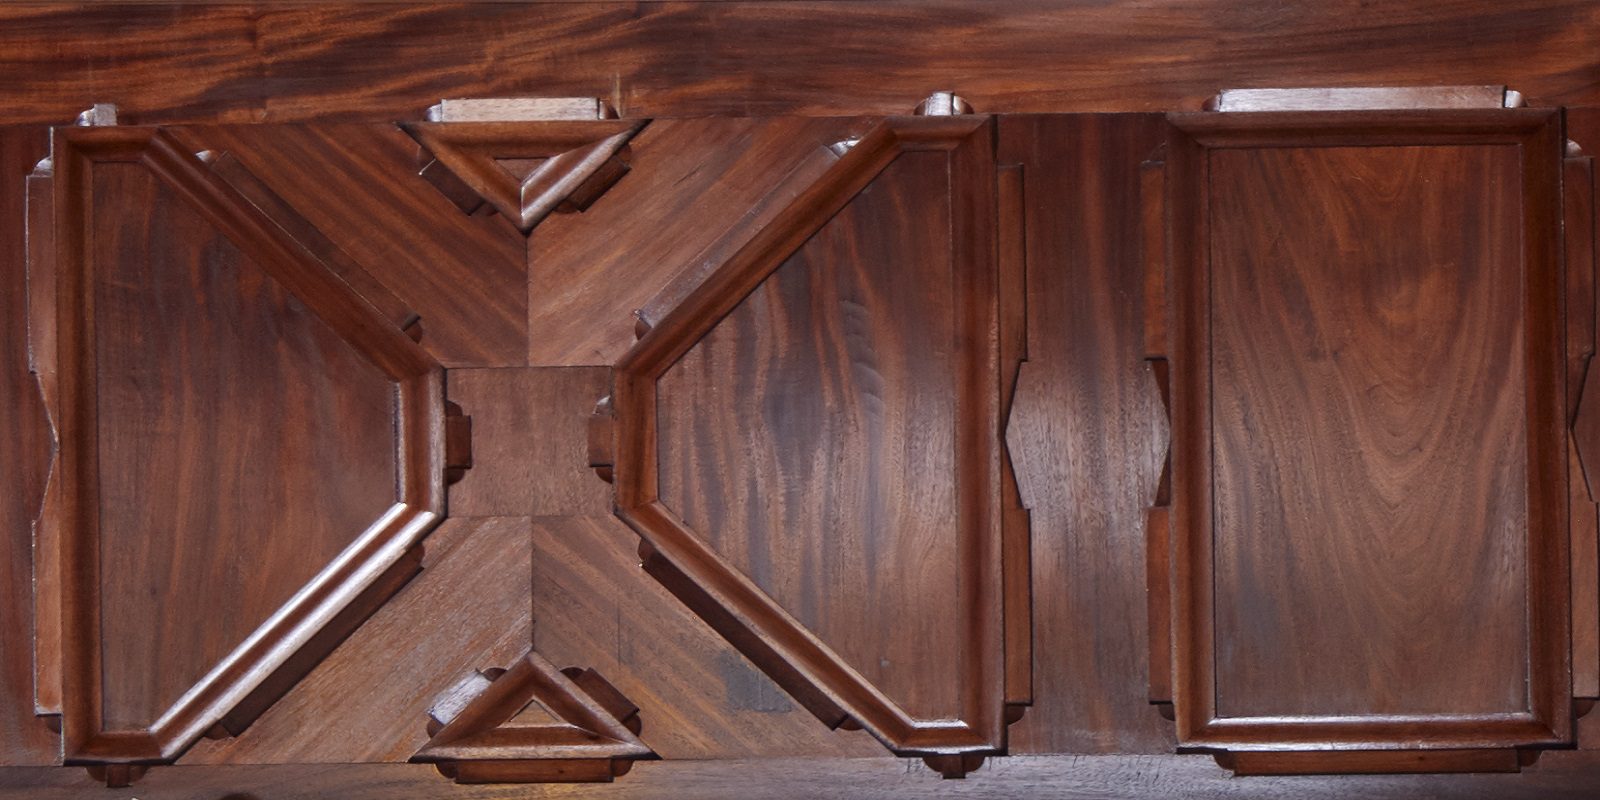
Different species of wood will react differently to cleaning and repair methods. Softer kinds such as pine and cedar will react negatively to abrasive cleaning methods whereas oak and cherry have a more durable surface and internal structure. Studying the material in question will also reveal whether it is a solid wood or a veneer. While solid wood is a traditional sawn board, veneers are thinly sliced sheets of wood which are glued onto a substrate. These are much less durable than solid wood, which impacts the restoration process.
Wood Finish
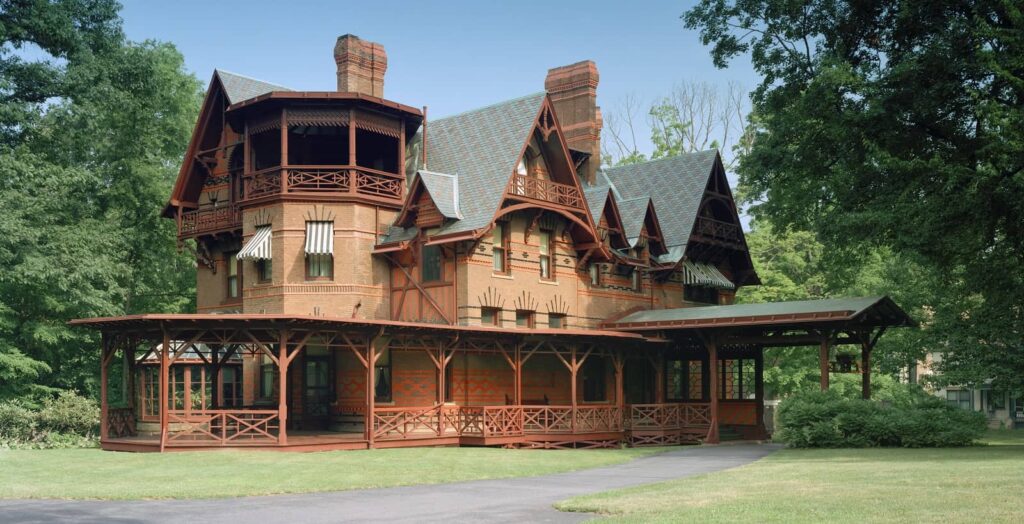
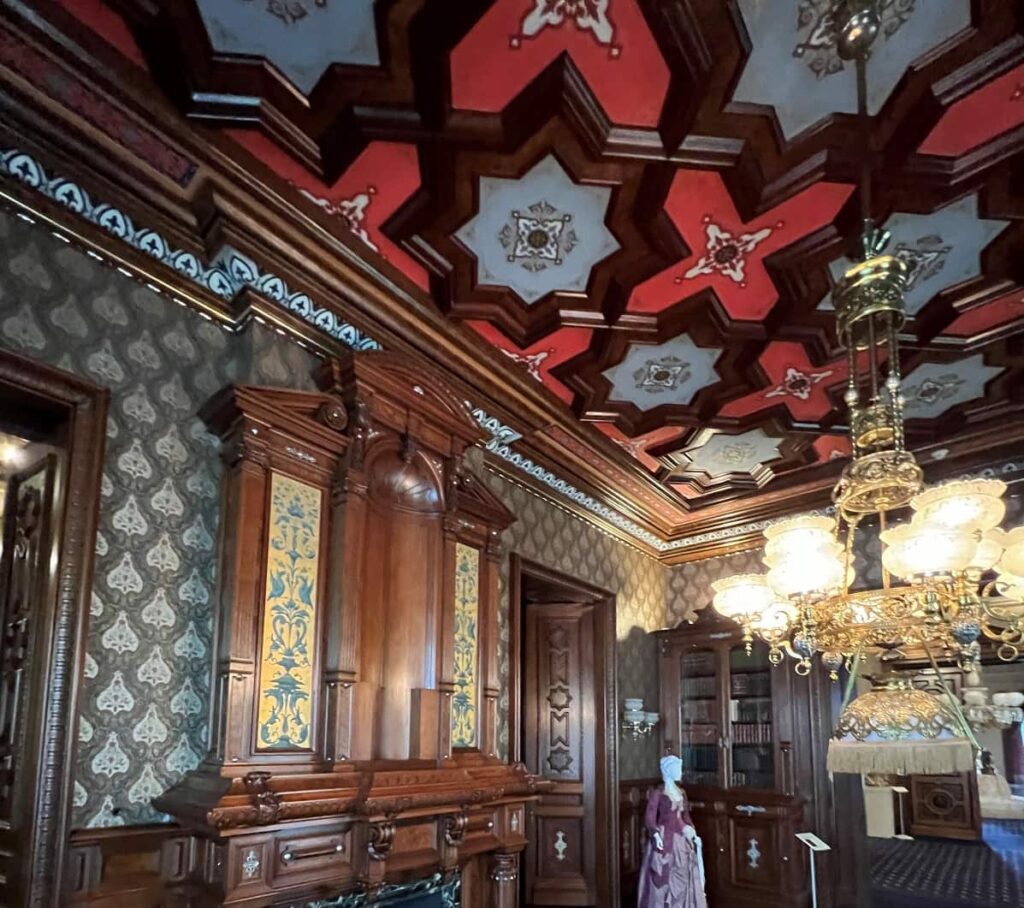
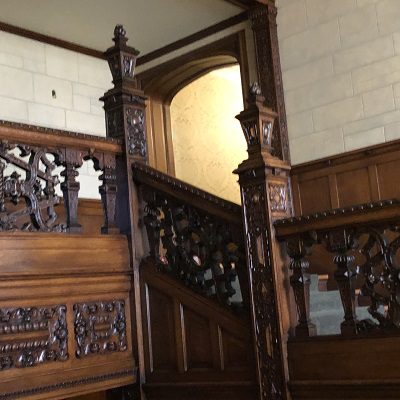
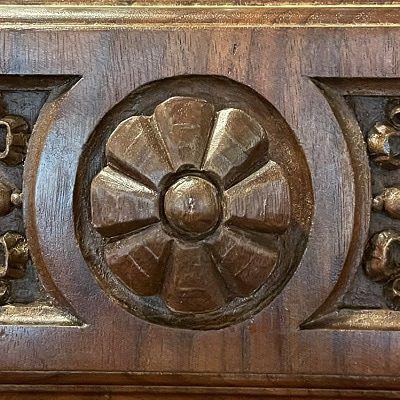
After understanding the type of wood involved in the restoration, it is important to evaluate its condition. This includes an analysis of the original or current finish applied to its surface and the condition of the finish itself. The main finishes used on historic wood are shellac, varnish, and wax. Each of these finishes has a different use and quality, which makes analyzing the finish a necessity before stripping the surface coat. Shellac and wax are commonly paired together when finishing wood. Shellac provides a protective finish with a high gloss appearance but is not water resistant. Therefore, wax can be applied to the wood to protect the surface from water stains such as the rings left by water condensation on cups. The wax will also reduce the luster of the wood, giving the surface a matt look rather than a sheen. Wax can be buffed by a simple cotton cloth to increase the gloss of the finish. Woodwork at The Mark Twain House in Hartford, CT was largely covered in shellac and needed refinishing due to the original finish’s deterioration.
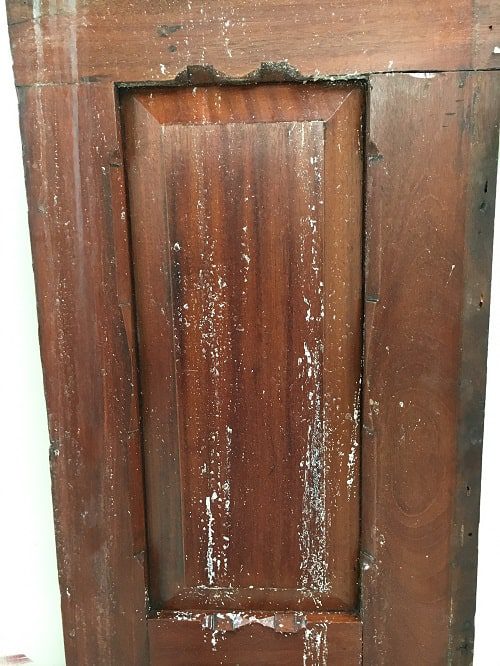
Deterioration of a Shellac Coated Wood Panel
Varnish covers a wide range of finishes and is not usually accompanied by wax. It is more protective than shellac and is useful for furniture and areas that receive constant contact. Generally composed of resin, spirits, and oil, varnish is suitable for outdoor applications and is one of the most common finishes found in historic architecture. Although it is not considered historic, polyurethane, invented to protect military equipment during World War II, is one the most protective finishes available. However, it is not always applicable for restoration purposes because it does not adhere properly to shellac-finished wood. Over time this finish will also become cloudy and lose the beauty that is kept in historic finishes. Choosing the right finish has always been impacted by factors such as availability, quality of ingredients, cost, viscosity levels, and the artisan’s preference. Each mixture has its own positive and negative attributes in the finishing process and should therefore be understood before being utilized in a project.
Issues with Woodwork
After investigating the type of wood and its finish, you can begin to study any issues within the material itself. Often times, the problem will concern the finish and not the wood. Historic finishes will suffer abrasion and natural weathering over time, thus wearing the surface of the wood. This leaves the wood susceptible to direct contact with destructive elements, which may deteriorate the material. The solution to this issue is a complete refinishing of the woodwork, including the removal of any remaining finish and a re-application of a fresh protective coat.
Step 2: Work Specification and Proposal
The material analysis leads directly into the writing of the work specification, followed by the proposal. Having gained an understanding of the type of wood, the current finish, and any issues at hand, a document stating the details of the project including scope, time, and solution is drafted. The specification is given to the client for their review and approval.
Step 3: Mockup
Once a contract is established, often the firm tests their restoration method for further approval by the client. This involves a complete restoration process on an inconspicuous area of the wood to confirm the chosen methods provide the desired result. If the mockup is successful, the full restoration process may commence. The mockup is used as a template for the general project.
Step 4: Stripping the Finish
Stripping the original finish off of the wood requires specialized tools and a delicate technique so as to not hurt the material’s surface. Different types of tools can be utilized depending on the project. Paint-removing instruments include a heat gun, sander, hand scraper, and chemical stripper. Each of these have their own positive attributes though some are more abrasive to the surface of the wood than others. A heat gun is able to quickly remove large spans of paint but can warp and burn the material’s surface. Sanders are desirable for a smooth removal however they need to be used correctly or they will grind past the finish and wear down the bare surface of the wood. Hand scrapers allow the conservator to make a detailed removal of the paint though the sharp edge can scratch and damage the piece. Chemical strippers quickly remove the paint from the wall but, depending on the type of wood and finish, can be too acidic for the material’s surface.
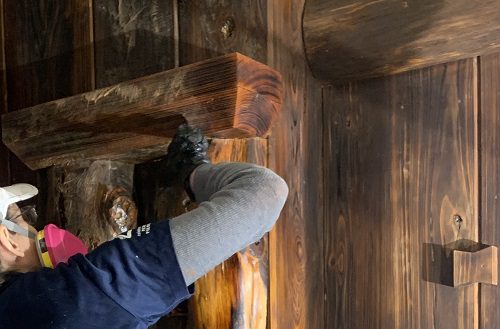
Paint Stripping in Progress
Understanding the benefits and risks of each tool will allow the contractor to decide what combination of instruments is needed to fulfill the specific project
Step 5: Sanding the Surface
Once the paint is stripped, the entire surface of the wood should be sanded (or rubbed with steel wool) to ensure no unwanted particles are trapped under the new finish. Wiping down the wood with a tack cloth after sanding will remove the dust and dirt accumulated by the prior steps.
Step 6: Priming or Staining the Surface
Before a finish can be applied, a primer needs to coat the surface of the wood. This acts as a further layer of protection and serves as an adhesive for the finish. However, if the sanded wood needs to change color so as to match the original aesthetic of the building, then a stain can take the place of the primer. A stain will darken and enrich the appearance of the wood while also working as a substitute for the primer.
Step 7: Refinishing the Surface
After prepping the surface of the wood, it is time to apply the new finish to the material. As mentioned before, there are different types of historic wood finish which can be applicable for the restoration of an older building. The finish used by the conservator should match the rest of the wood and provide suitable protection for the wood. To conclude the restoration process, a thorough rinsing and wiping of the wood is necessary to ensure no residue is left on the material’s surface. This can be done with tap water and a rag. The wood should be dried after cleaning to prevent moisture seeping into the new finish.
Historic wood restoration is an important part of preserving early architecture. By taking detailed and planned steps, a conservator can fully transform deteriorated wood in a building into a renewed piece of historic artistry. Check out more information provided in our wood restoration blogs or John Canning & Co.’s historic wood restoration, repair and replication services.