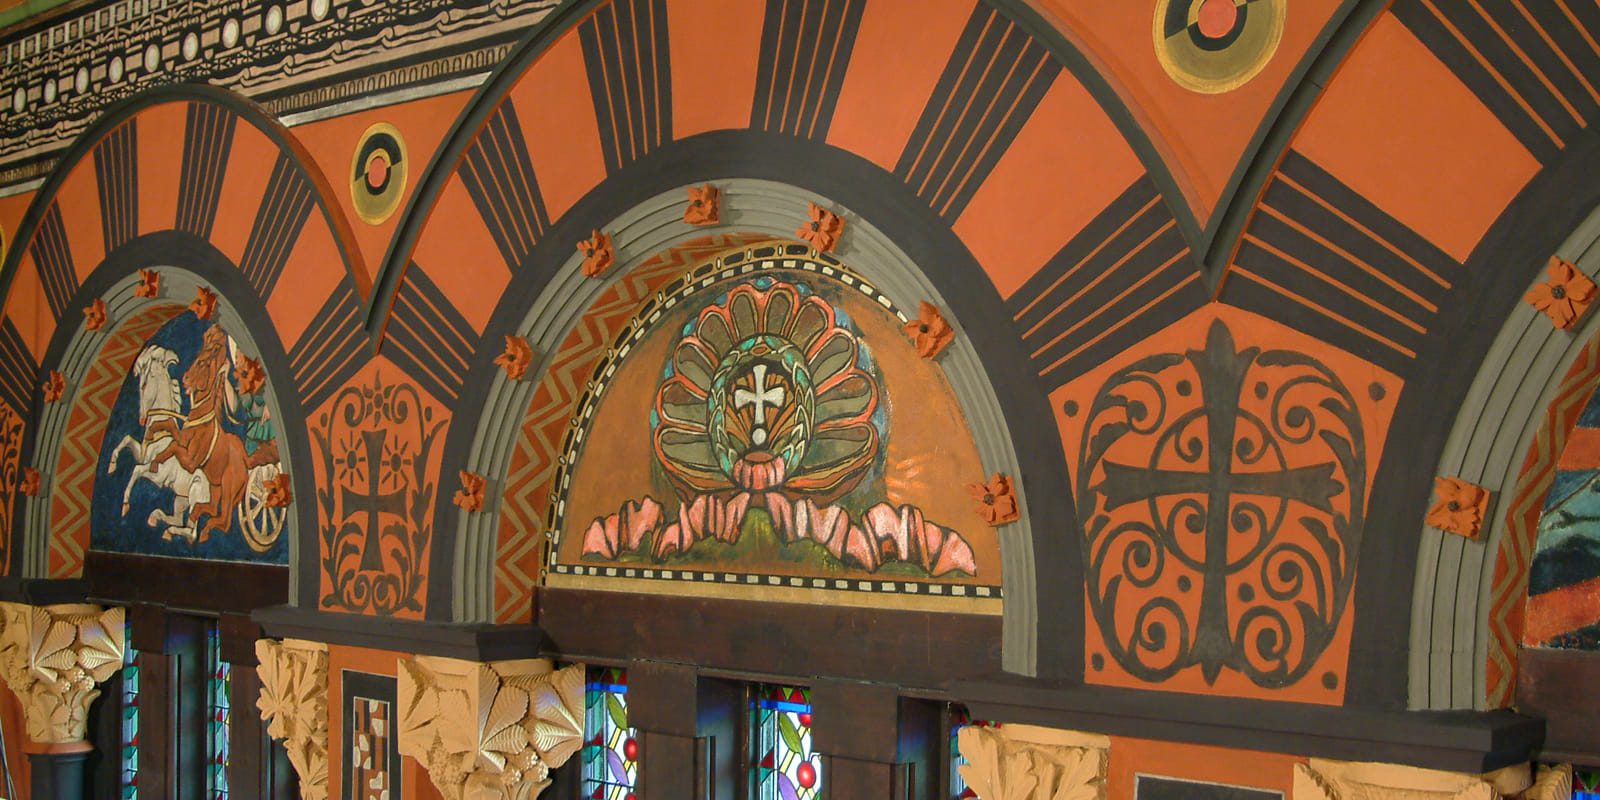
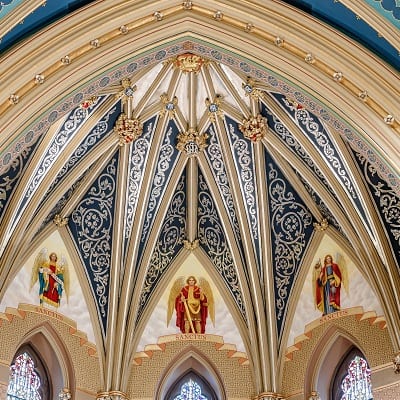
Sacred art has been a religious, cultural, and civil influence for almost 2,000 years. Implemented throughout the world in both historic and modern churches, religious murals and sacred decoration have been an important part of every society. Much of sacred art is historic, often susceptible to deterioration and thus fading from its original splendor. It is important therefore to maintain, preserve, and restore religious art to keep its rich history alive. Here is an overview of church art restoration and the 7 steps taken to preserve our religious history.
Common Issues with Sacred Art
-
Residue
Church art and decoration can fall under disrepair through a lack of cleaning. Dirt, dust, and grime can rest on the surface till the canvas or other substrate absorbs the unwelcomed particles. Subsequently, the art becomes dull, faded, and can even begin to flake. Other types of residue can come from people interacting with a reachable piece of art, such as breathing on or touching its surface. Oils from the skin can cause harm to the work so it is important to keep it away from any unnecessary contact.
-
Faulty Restorations
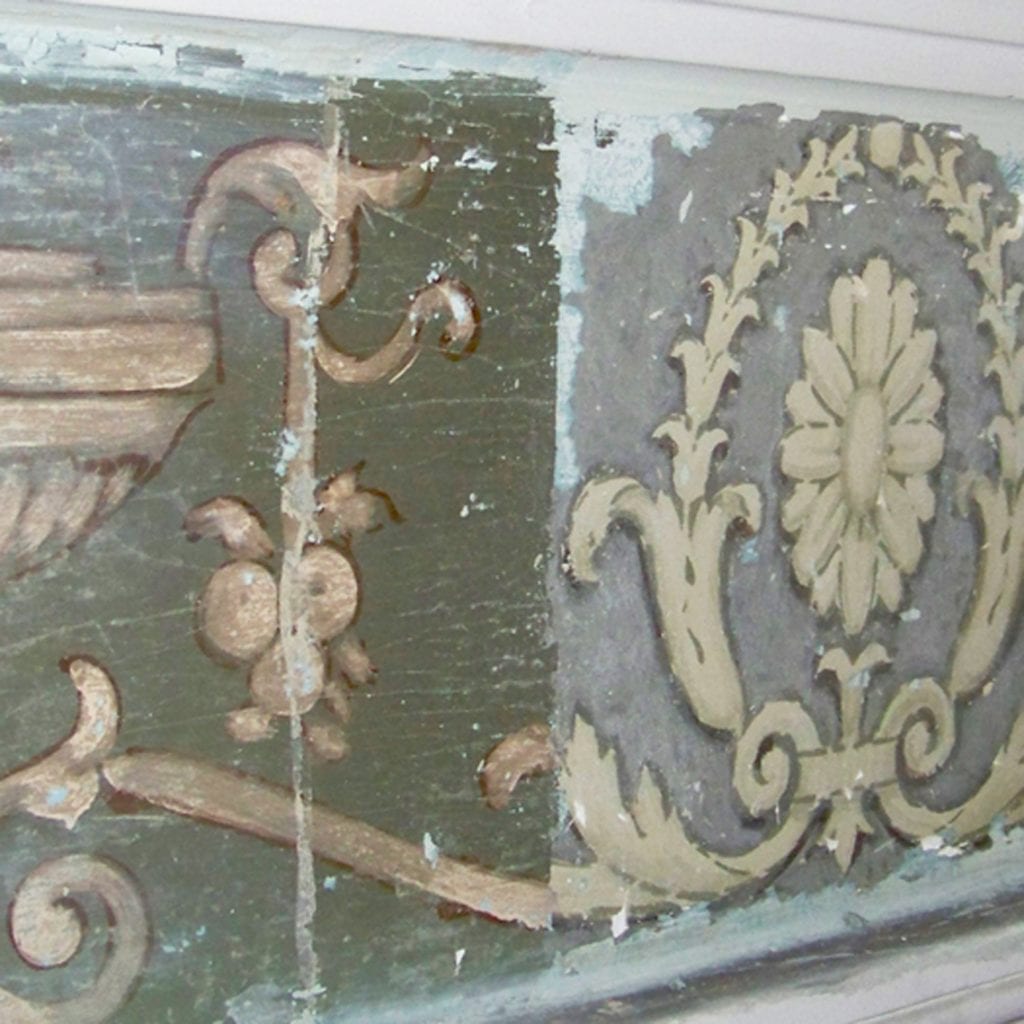
Some art restorations can ironically be more damaging than protective for original works of art. In a conditions analysis, you will often find that the surface design is not the original mural, but a recent addition by either a past restoration team or the building owner. In painting over the original décor, the beauty of the sacred decoration is masked. Out of reverence for the church’s primary designs, it is important to keep the original art exposed when conducting a restoration.
-
Paint Delamination
Paint delamination is the loosening of paint from its substrate which, in the case of church art, is often plaster. This occurs due to a number of factors such as improper environmental control, improper applications of the paint to a surface, and the paint’s age. If a room’s temperature rises and drops and if the space has inconsistent levels of humidity, then the paint starts to morph and crack. As the mixture moves, it separates from its substrate and eventually becomes fully detached. This can be a common issue in a church due to the size of its interior; the larger a space, the more difficult it is to control its climate. During the original application of paint at the time of the church’s construction, the mixture might have been painted onto plaster while the wall had not yet dried. If this is the case, then there would be issues with the two substances bonding and becoming durable, resulting in delamination. Older paint is naturally more worn and susceptible to chipping so a general removal and reapplication of new paint may be necessary when the analysis finds the paint to be overdue for restoration.
-
Water Damage
Water damage occurs when excess moisture comes into contact with the art’s surface and causes staining. This issue can often arise in historic buildings such as churches due to a drainage problem or a simple leak in the roof. It is important to remove the painting from the line of contact with water, or dry the wall mural when it appears wet so as to avoid any major staining issues.
7 Steps for Art Restoration
There are certain steps which licensed conservators and restoration contractors take in order to best preserve any damaged art. From the beginning phase of research and consultation to the final implementation of the restoration plan, it is important as an owner to be aware of the steps taken by professionals to preserve sacred art. Here is a step-by-step look into church art restoration.
Step 1) Archival Research
The first step a sacred art conservator takes in a restoration project is researching the history of the Church itself. It is important to preserve the original intention of the sacred art in appreciation of its history. Therefore, an art restoration contractor should focus on renewing the sacred decoration to its former beauty while implementing the least amount of changes and overall manipulation to the pieces themselves. Archival research will also help the firm understand the original artists and the intent behind creating each specific mural inside the building. All of these factors will weigh in on how the restoration is conducted so as to best preserve the earliest style and aesthetic of the church.
Step 2) Conditions Assessment and Report
After the historical context of the church art is understood, a material investigation can begin. The restoration firm will implement solvent tests to discover any defective layers of paint or varnish. This will help the contractor decide the best methods to employ when conducting a conservation cleaning and faulty paint removal. Further research will help the firm understand the effects previous restorations have had on the church, and whether there is an original piece of art hidden under more recent coats. All of these specifications are then documented in a conditions report which will be presented to the client in a consultation and proposal. Pictures, sketches, and solutions will also be documented so as to provide the clearest plan for a restoration project.
Step 3) Proposal and Mockup
After having analyzed both the historical context and physical situation of the art, the firm will present their proposal of solutions including the scope, timeframe, cost, and objective for a restoration project. Utilizing the conditions report, the client can clearly understand the various aspects of the job and will decide their preference. Once the contract is made, a mockup might be created so as to establish a sample piece of the general project. This is often done in an inconspicuous area in the case that the proposed solution is not applicable to the building’s needs. If the mockup is approved, restoration can begin, using the sample area as a template for the general project layout.
Step 4) Stabilization of Church Murals
This step, while not always necessary, is a key factor in the preservation of church art. Mural stabilization is needed when the building’s plaster or other substrate, which acts as the surface for the paint, is in need of repair. When the substrate cracks and breaks apart, it separates and ruins the mural which coats the wall. It is therefore necessary to ensure the substrate is intact before restoring the paint itself. Stabilization is also employed when delamination causes the paint to separate from the building. This issue can be resolved through different tactics such as applying new adhesives and heat to the paint so as to reattach it to the substrate.
Step 5) Preserving the Paint
Paint preservation and restoration is implemented differently depending on the composition of the material in question. Knowing whether the paint is encaustic, distemper, tempera, or oil can change the methods employed to fix the church murals and decorative art. It is also important to be aware of any defective finish which would have been applied in prior restorations or original paint which is no longer suitable for use. If there is any varnish which is negatively effecting the mural then it is necessary to remove it for the pieces’ preservation. Varnish removal requires a delicate touch so as to remove the discolored finish without scratching the surface of the paint. Using a solvent such as turpentine will loosen the protective coat and expose the vibrant pigments of the original paint. Once the painting is exposed, a new varnish can be applied to protect the mural.
Step 6) Paint Repair and Replication
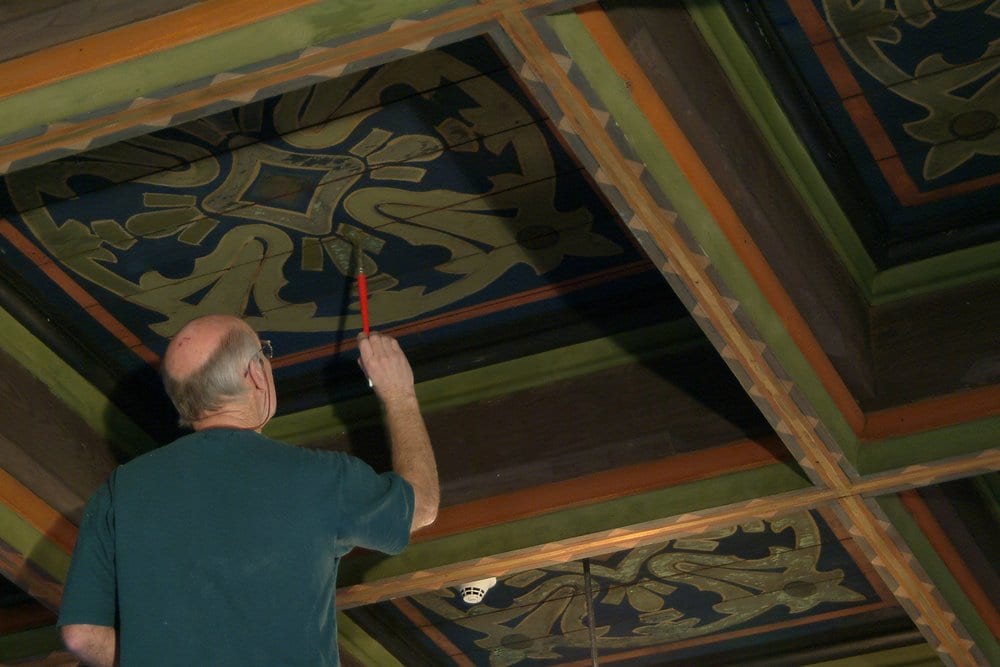
If issues with the art are more extensive than can be resolved with a finish restoration, then there are a few repair techniques which can renew the piece without detracting from its original design. Infilling is a painting method which fills any eroded divots, cracks, and holes on the surface of the mural. Using a putty, the cavities are made flush with the rest of the wall’s surface and a repainting of the damaged area can commence. When parts of the mural are missing due to fading, erosion, or outside damage, the conservator must replicate the original design based off of research. Depending on the availability of the work’s documentation, an artist might have to implement some creative license so as to provide the best finished result. Through expertise and craftsmanship, a trained preservation artist can make a seamless transition between the original work, and new additions.
Step 7) Over Painting Vs. Inpainting
An improper restoration could mean the covering of original art through applying the new paint over too great an area. This is called over painting and can lead to a mural having an uneven and dull appearance. A proper restoration project utilizes inpainting, a process which keeps the new replacement paint in only the damaged areas while leaving the original paint which is in good condition untouched. Inpainting involves different types of painting styles including pointillism, a method where many tiny dots are applied to the mural by the tip of a brush. This creates a subtle movement of color and doesn’t distract the eye from the original work.
The preservation of church art is no small feat. Requiring the expertise and professionalism of a licensed conservator, a proper restoration project can refresh the whole aesthetic of the building while giving reverence to the original decorative design. If you are interested in learning more about sacred art preservation or are looking for your church’s own restoration, please check out our sacred portfolio of work.

