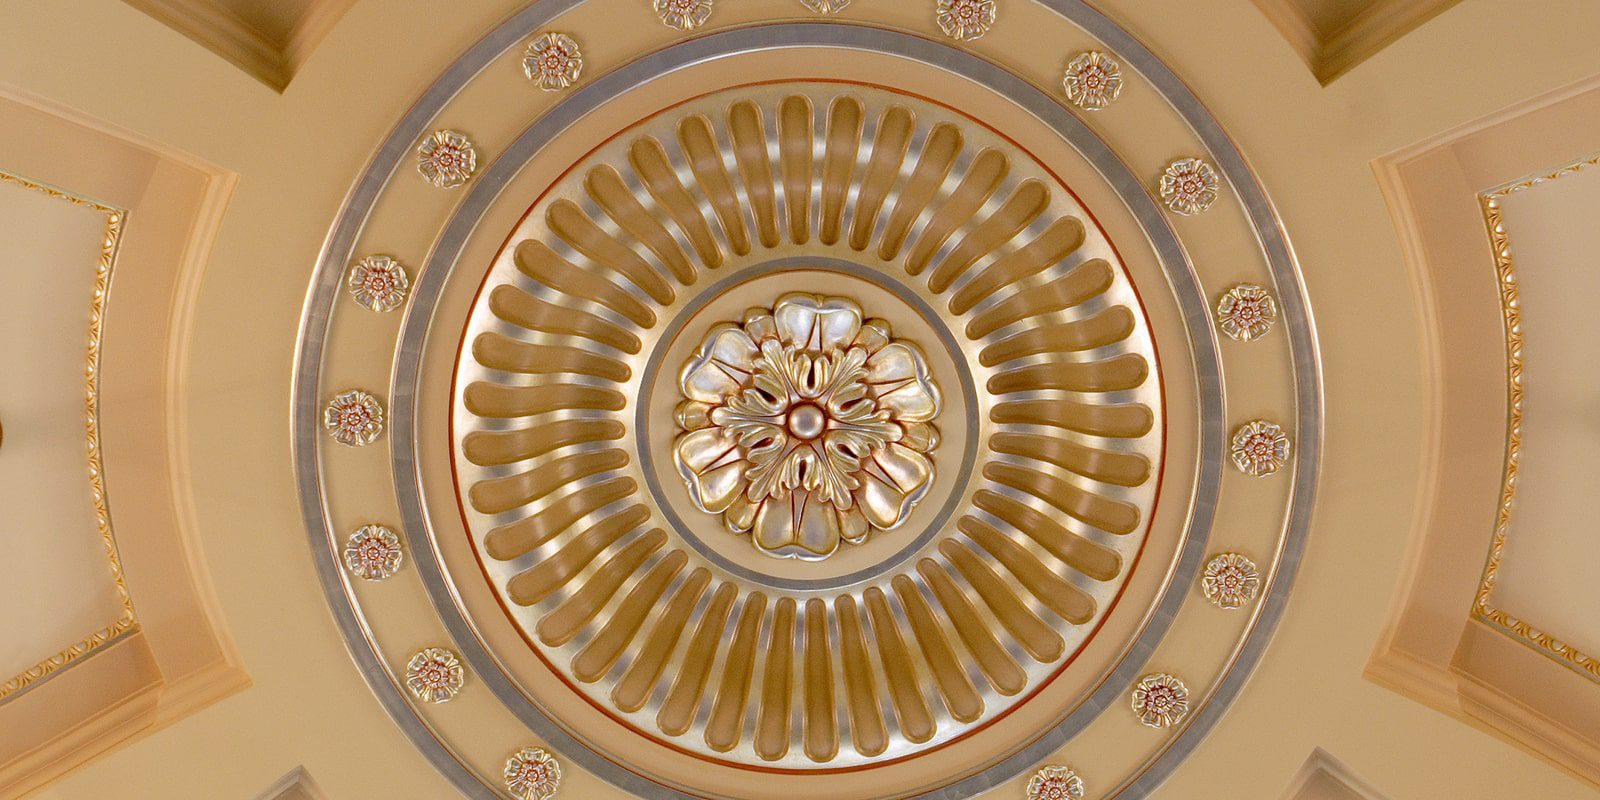
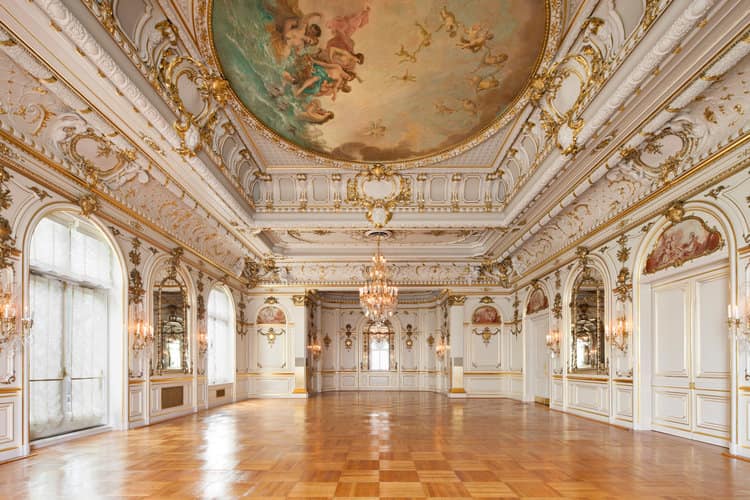
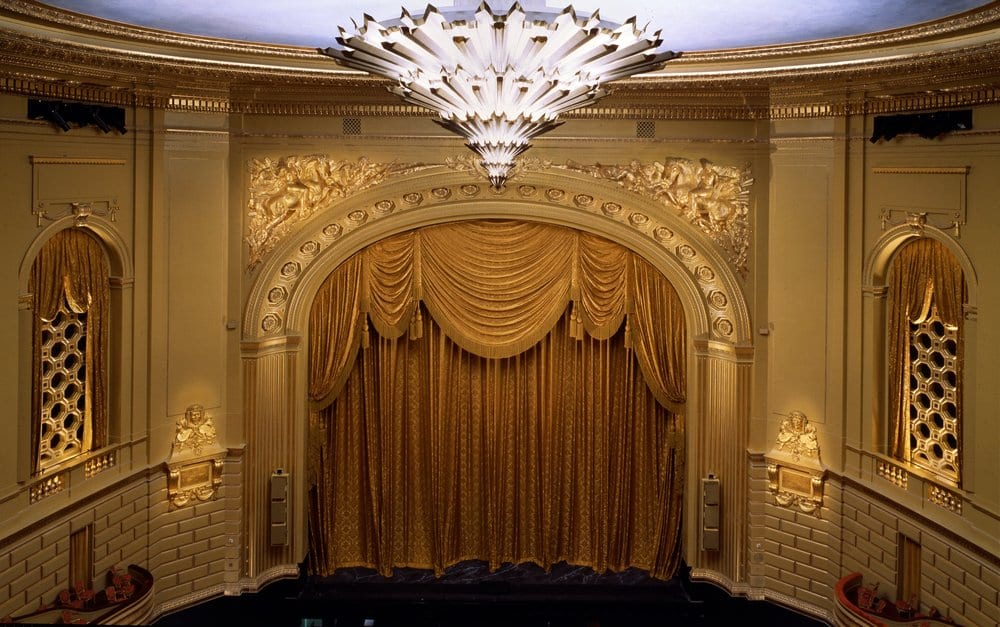
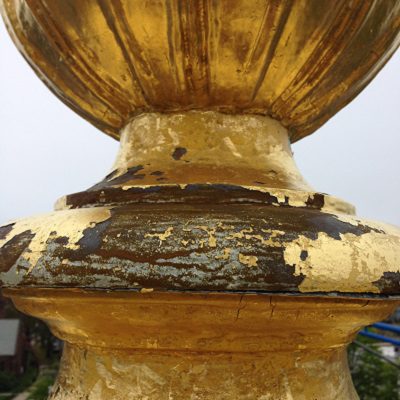
Gilding is an extraordinary and special technique employed in architectural decoration for thousands of years. Gilding is the process of applying metal leaves onto a surface for both decorative and protective purposes. You will most commonly see architectural gilding on domes, in lettering, ornaments, and on the capitals of columns. The elegance of the color and material of the metal elevates the aesthetic of any building which receives this decorative application. Here is a basic guide to gilding with some tips and techniques used by professional conservators to implement and beautify architectural gilding.
Water Gilding vs. Architectural Gilding
There are two general types of gilding: water gilding and architectural gilding. These terms apply to the makeup of ingredients used to attach the metal leaf to a surface. While both methods produce a beautiful result, each has a distinct effect in terms of the appearance and durability of the gilding. Therefore, the specific task at hand will determine the type to use.
1) Water Gilding
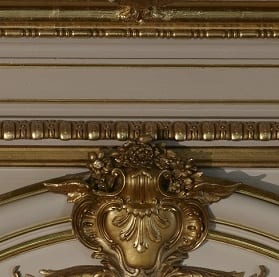
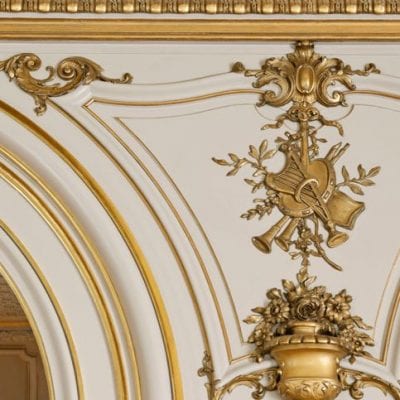
Also known as gouache gilding, water gilding is the oldest form of the craft. Its traditional methods, though laborious, provide a beautifully detailed and finished appearance. Water gilding provides a high-luster appearance and shines brighter than architectural gilding. However, water gilding is susceptible to out-of-doors elements, and therefore it is typically used for high end furniture. This includes ormalu ornaments and boiserie. You will often see water-based gilding used for intricate interior detailing and on projects seen from a short distance. This is due to water gilding’s highly finished appearance.
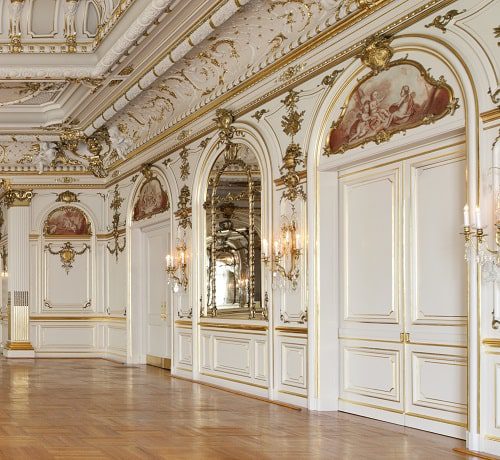
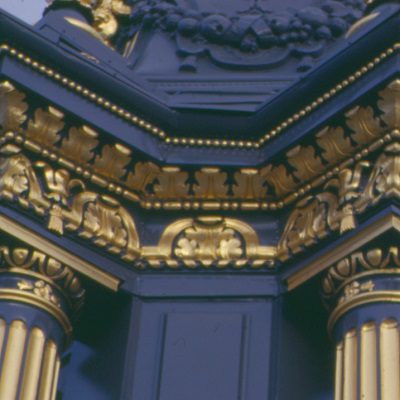
The restoration of Cosmos Club in DC included water gilding, oil gilding and roman gilding. Water gilding on the chair rail and door filets was cleaned and conserved and areas of heavy damage required full replacement, using traditional water gilding materials and techniques.
2) Architectural Gilding
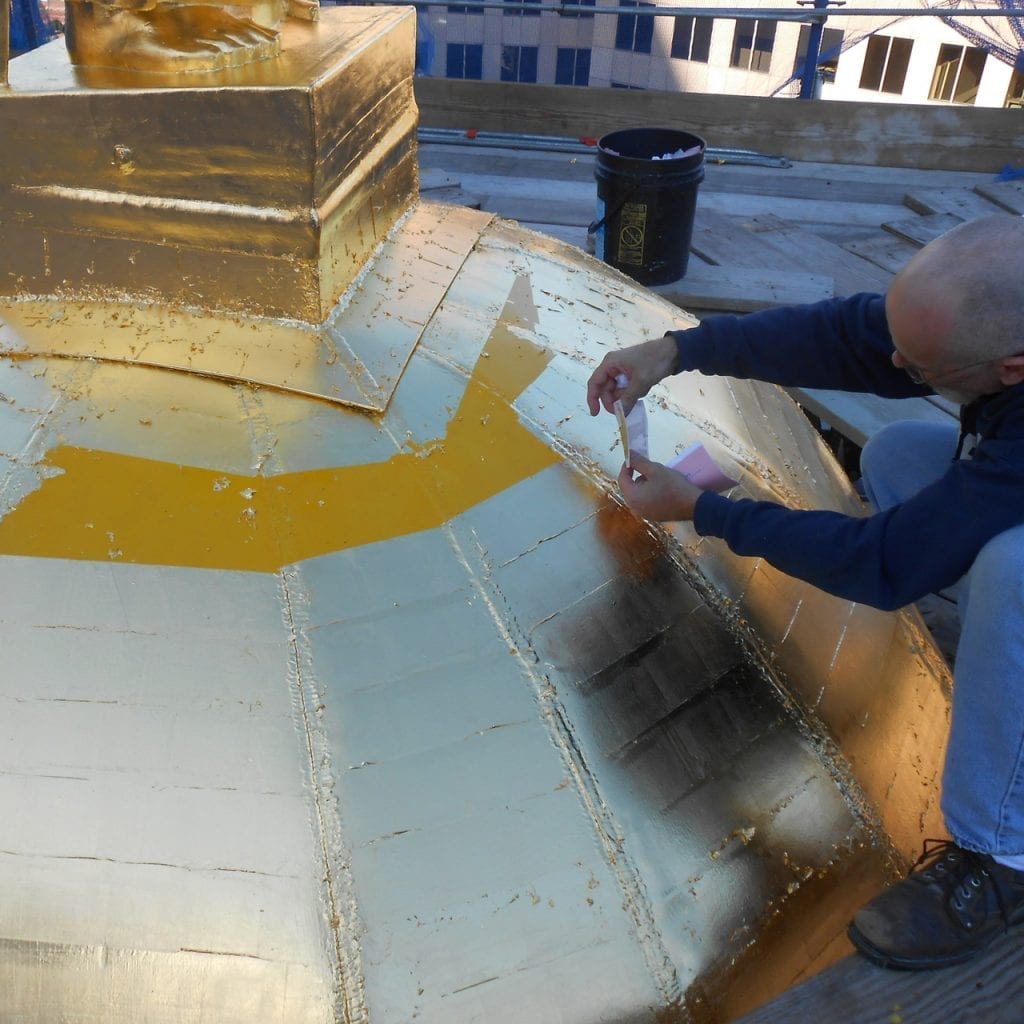
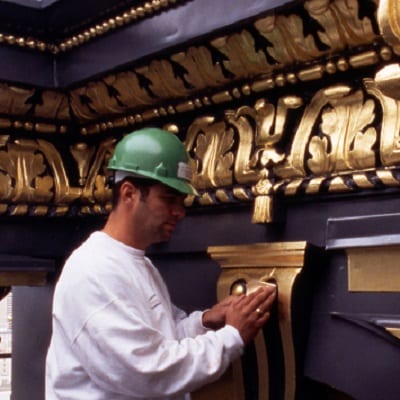
Architectural gilding employs either an oil-based adhesive or a water-based adhesive. While oil-based gilding is a great method for exterior projects, a modern water-based medium is most often used for interior projects. For oil-based gilding, a medium such as linseed oil is used to adhere the metal leaves to the substrate. Because the finished result provides a lower luster than the water-based adhesive, oil-based gilding appears to have a less brilliant tone. Although it does not allow for as much detail as water-based gilding, the oil adhesive is resistant to moisture and can therefore be used in exterior projects. The large domes and embellished peaks of buildings which you see covered in gold are gilded with an oil base.
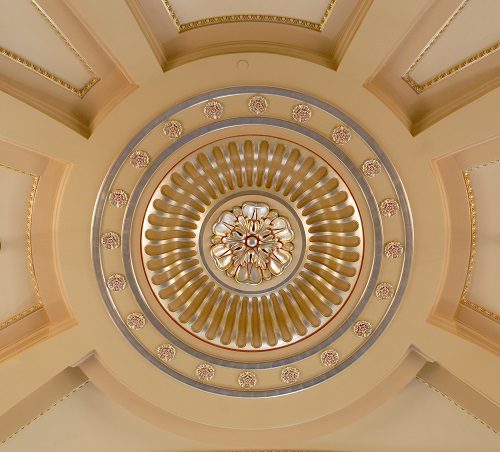
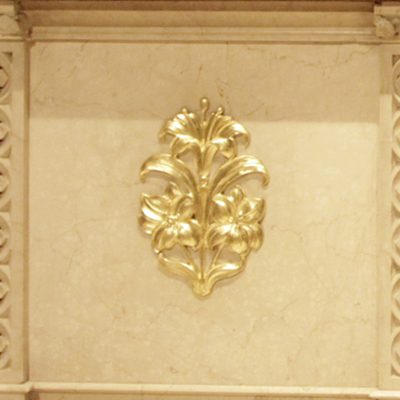
Gilded floral ornament at the Shrine of Our Lady of Guadalupe in Wisconsin
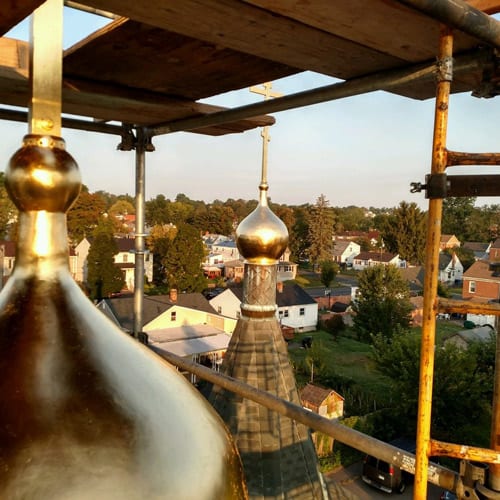
John Canning & Co. has utilized both methods in its numerous projects whether they be gilding elaborate indoor ornaments or larger exterior structures. The above picture is of a floral ornament at the Shrine of Our Lady of Guadalupe which John Canning & Co. had the task of gilding. The picture below is of an oil-based gilding process Canning performed in Hartford, CT.

Dome gilding at St. Panteleimon Russian Orthodox Church in Connecticut
Tips for Prepping the Surface
Every successful gilding project needs a thorough preparation of both the surface that is to be gilded and the gilding materials themselves. The substrate on which the metal leaves will be laid must be clean of any loose particles whether they be dust, paint, or any type of grime. Any dust or residue that is left on the surface will interfere with the adhesion of the metal leaves. Afterwards, the surface should be wiped down with solvent to pick up any remaining surface grime or grease. When working with glass or metal that has been painted, loose flecks of paint or finish must be removed before commencing the metal leaf application. The substrate should be checked for cracks, holes, and general deterioration. It is also important to fix any substrate issues before proceeding in the gilding process.
Tips For Applying the Metal Leaf
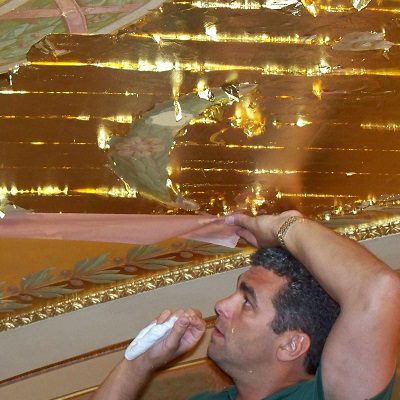
After the adhesive is applied to the substrate, the metal leaves can be laid down when the tack is at the right level. Note that there are different types of size with different drying times and tints. Choose the appropriate one for your gilding project and make sure the surface is dust/dirt free before applying. The metal leaves themselves are incredibly thin and fragile and therefore need to be handled with great care to ensure the metal is not torn. Because the thin metal is so fragile, it is important to lay the leaves down with great care and to not touch the metal itself. Therefore, leaves should be laid down onto the adhesive-covered substrate using a gilders-tip or the packaging in which it was placed.
Tips for Adhering and Burnishing Architectural Gold Leaf
Once the leaves are applied, the metal is gently brushed with soft bristle brushes, putting pressure onto the adhesive. A softer tool will help avoid the appearance of wrinkles on the surface of the metal and will remove excess leaf. Lightly burnishing the metal with a soft cloth is recommended to ensure proper adherence of the leaves to the substrate while mitigating any risk of damage to the leaves throughout the process. Burnishing will remove excess and overlapped parts of the metal leaves to create a seamless transition.
Tips for Protecting Metal Leaf
When gilding with a metal other than gold, an acrylic or oil-based protective coating may need to be applied to protect the leaves from tarnishing or oxidizing. Because the metal leaf is so fragile and susceptible to wear, it is necessary to coat the leaves in a varnish or sealer after applying them to the substrate. Gold leaf does not need an application of varnish or sealer because of its durability. This is why gold is the best choice for exterior gilding projects.
Tips for Choosing the Right Metal Leaf
A proper gilding project needs the correct type of metal leaf. For exterior projects gold leaf is the only choice. When using gold, the leaves used in exterior work should be at least 23.75 karat gold and 21-23 grams per 1000 leaves. On the other hand, interior projects can use gold leaves that are less than that amount such as 22 karat gold and 17-19 grams per 1000 leaves.
Restoring Gilded Materials
Many gilding projects require the removal of the original, tarnished metal, and a re-application of new leaves. This process has more complications than the original gilding project due to the two-part task. Gilding conservators such as John Canning & Co. have experience with the restoration of gilded structures. It is important to assess the reason for the problem before laying down new metal to avoid a reoccurrence of issues. This entails the restoration of the substrate to prepare the surface for a re-application of metal.
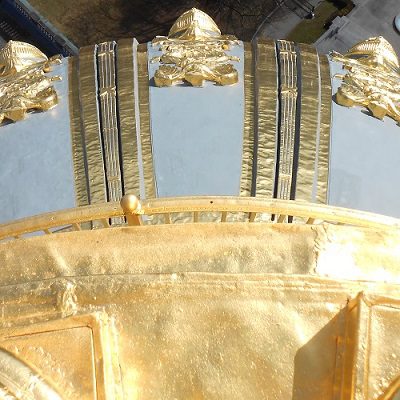
Aetna Insurance building dome
John Canning & Co. has restored the gilding of the Aetna Insurance building’s dome in Hartford, CT. Through restoring the substrate of the dome and gilding the surface with genuine gold leaf, the conservation team gave the building a fresh, dazzling appearance, which can be viewed throughout the city. For more information regarding the process of gilding or the various gilding projects implemented by John Canning & Co.
Tip for Choosing a Gilding Contractor
One of the most important tips for gilding projects is to make sure you have someone knowledgeable and experienced to perform the gilding. It is important to take the time and make an informed decision. In choosing the right professional it is important to research and gather information, get recommendations, request quotes, check credentials, and schedule consultations. This process will help you determine who to hire for your gilding project. If you have a gilding project, feel free to reach out and see how John Canning & Co. can be of assistance.

